
 |
 |
 |
|
|
|
Vacuum bagged wings are very popular because they are quick to build, light weight, and have excellent aerodynamic and structural performance. The example we are bagging is for a discus launch glider (F3K). This model is very light and heavier materials will be needed for a larger model.
Prepare the core by sanding the foam after it is cut then apply all the reinforcing carbon fiber to the core. I mold most of the carbon fiber and then bond the shapes to the core with a minimum amount of epoxy. Some of the carbon must be vacuum bagged in place directly on the core. This process is similar to vacuum bagging the wing skin. After the carbon is added use a light weight spackling to fill any low spots and block sand the entire wing surface smooth under a bright light so you can see any low or high spots.
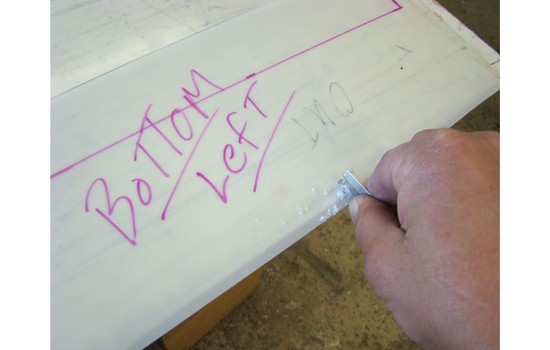 |
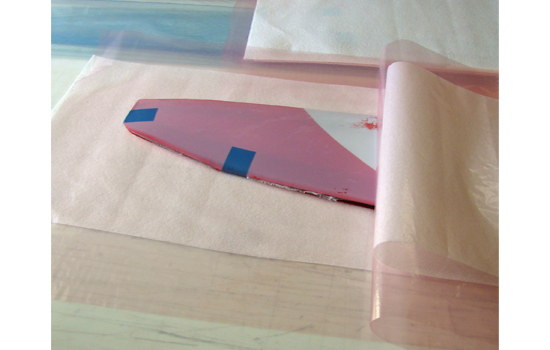
Cut out four .014" thick Mylar sheets to the shape of the wing panels. I extend the trailing edge of each Mylar sheet about 1/2 inch. It is best to trim off the trailing edge of the skins after they are cured. Taper the leading edge and tip edges of the Mylar sheets by scrapping the outside edges with a single edge razor blade held in a vertical position. This will make the edges of the sheets more flexible. Mark the outside of the Mylar's so when you paint the surfaces you will get the correct color and pattern. Also mark the flap hinge line on the bottom surface with a dark color marker. |
|---|---|
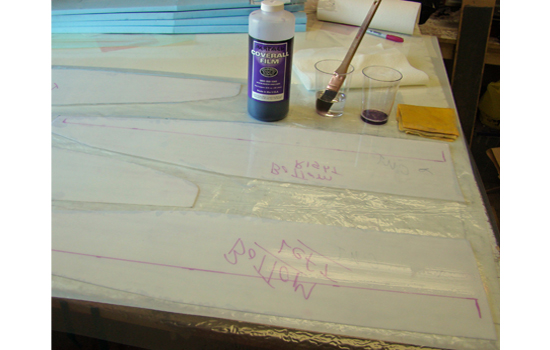 |
Clean the inside surface of the Mylar and wing cores with a tack cloth to remove all loose material. Use a good quality paint brush to apply a thin even coat of Coverall mold release to the Mylar. After a couple of hours inspect the surface. It should be a perfect high gloss surface. If there are any imperfections in the surface they will be molded into the surface of your wing. You can peel the film off of the mylar easily if it is not perfect and brush on another coat. |
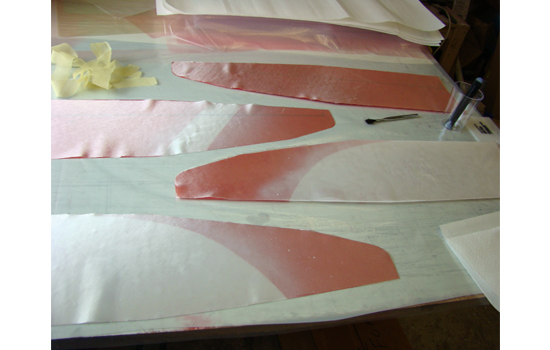 |
Paint the Mylar. Test the paint you will use on a scrap covered with Coverall. A paint that contains water will melt the mold release and have a rough appearance. I use Krylon Indoor/Outdoor spray to paint the surface. If your paint will not work with the Coverall you can use a layer of wax on the mylar as a release. Personally I like Coverall results for the superior surface quality. Start with the dark colors on the surface first and spray on the paint in multiple light coats until you get sufficient but light coverage. Let the paint dry for at least a day before bagging the wing. Don't try to mask off the color edges. Lay 0.7 oz glass cloth over the mylar's on the bias. The threads should be at a 45 deg angle to the span of the wing. Cut the fabric to match the shape of the mylar's.
|
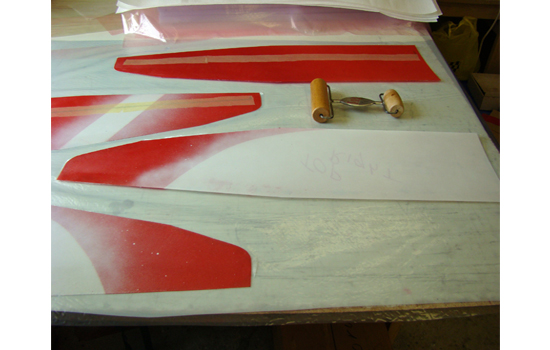 |
The surface of the table is protected by a sheet of plastic. Wet out the glass cloth on the Mylar's with laminating epoxy. Pro-Set or MGS are recommended. West Systems Epoxy can be used for a first project. Add a strip of bias cut Kevlar fabric on the bottom surface along the Flap hinge line. Make sure there are no dry spots. On the white paint, it is difficult to see dry spots. Remove all excess epoxy from the fabrics. Lay paper towels over the wet fiberglass cloth, then use a roller to press the towels into the wet cloth. Repeat with another towel in the same area a second time. Now the surface should look nearly dry. If there are any wet areas repeat the roller and towel process on those areas. Now the skins are ready to vacuum bag to the foam cores.
|
 |
Place the top and bottom mylar's on a core and line them up along the leading edge and both ends. Use a few short lengths of tape to hold all the layers in place. The stack that goes into the bag is a paper towel layer on the bottom which acts as a breather layer, a perforated release film (peel ply), the wing core with Mylar's, another perforated release film (peel ply) layer, and a breather layer on top. I open the bag tube at both ends, put my arm through the tube and slide the stacks through the bag while I straighten and align the bag with the other hand. |
 |
I am using a 27 inch wide bag tube to bag both wings at the same time. Add a short length of breather fabric from the vacuum line inside the tube over to the breather layers on the wings. Be careful to wrap the end of this breather strip around the end of the vacuum line so you get good air flow into the end of the vacuum line. Close the ends of the bag with bag clips and hook the other end of the vacuum line up to the pump. Turn on the pump and smooth out the bag layers over the wings. I go over the outside of the wings in the bag with the unnotched edge of a West Systems Notched Spreader, this helps the bag to pull down tighter around the edges of the wings. |
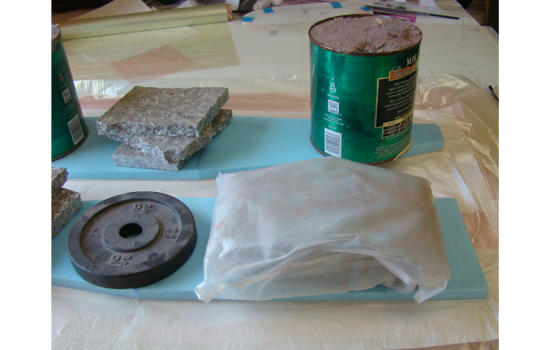 |
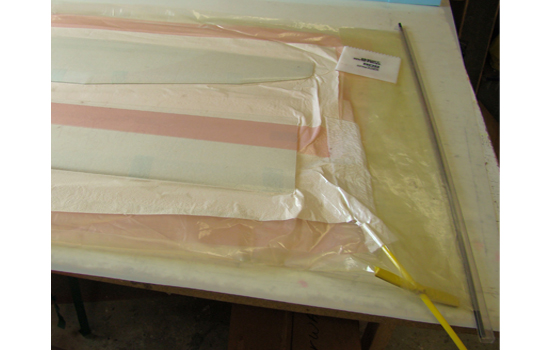
Place the bag between the cut outs from the foam core and align them on a flat table. Add weights on top of the cut outs. This will create a wing that is not twisted or distorted. |
 |
Keep the wing under vacuum for at least 24 hours. Open the vacuum bag and peel the mylar's away from the wing surface. You will need to trim the excess glass along the trailing edge with a sharp knife and a straight edge. A little sanding is typically needed along the leading edge and the tip. The surface of the wing will be covered with Coverall mold release. This must be washed off with water and a paper towel. |